
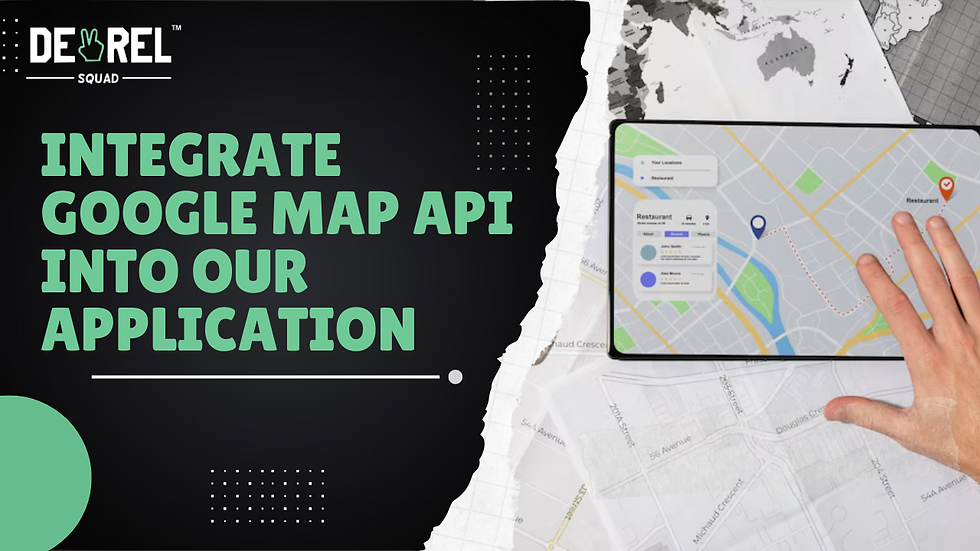
Overview
Integrating the Google Map API into your application can significantly enhance user experience by enabling robust location-based functionalities. In this guide, we will walk you through the steps to integrate Google Map API into your app, ensuring it is secure and reliable.
Getting Started
Step 1: Get a Google Map API Key
To use the Google API for Google Maps, you first need to obtain an API key. Follow these steps:
Visit the Google Cloud Console: Go to the Google Cloud Console.

2. Create a New Project: Click on the project drop-down and select or create a new project.

3. Enable the Maps JavaScript API: From the library section, enable the Maps JavaScript API.

4. Generate API Key: Navigate to the credentials tab, click on Create Credentials and then API Key. Copy this key as you will need it for integrating Google Map API.

Step 2: Setting Up Your Application
Now that you have the Google API Key, you can proceed to set up your application.
For Web Applications:
Include Google Maps script in your HTML:
<!DOCTYPE html>
<html>
<head>
    <title>A Simple Google Map</title>
    <!-- Include the Google Maps JavaScript API with your API key -->
    <script src="https://maps.googleapis.com/maps/api/js?key=YOUR_API_KEY&callback=initMap" async defer></script>
    <!-- JavaScript function to initialize the map -->
    <script>
        function initMap() {
         // Define the coordinates for the map's center
         var centerCoordinates = { lat: -34.397, lng: 150.644 };

         // Create a new map object and specify its center and zoom level
         var map = new google.maps.Map(document.getElementById('map'), {
             center: centerCoordinates,
             zoom: 8
         });

         // Add a marker to the map at the center coordinates
         var marker = new google.maps.Marker({
             position: centerCoordinates,
             map: map
         });
     }
    </script>
</head>
<body>
    <h1>Welcome to My Simple Google Map</h1>
 <!-- This div will hold the Google Map -->
 <div id="map" style="height: 400px; width: 100%;"></div>
</body>
</html>
The script tag includes the Google Maps JavaScript library and calls the initMap function once the script is loaded.
The initMap function initializes the map at specified coordinates and places a marker on the map.
2. Replace YOUR_API_KEY with the Google Map Key you obtained earlier.
For Mobile Applications:
Android:
Integrate Google Play services:
implementation 'com.google.android.gms:play-services-maps:17.0.0'Include API key in the manifest:
<manifest>
    <application>
        <meta-data
            android:name="com.google.android.geo.API_KEY"
            android:value="YOUR_API_KEY"/>
    </application>
</manifest>
By including the API key in our Android manifest file, our app is authenticated to use the Google Maps services into our application.
iOS:
1. Install the SDK:
For installing the SDK, you should use CocoaPods to include the Google Maps SDK.
pod 'GoogleMaps'2. Include API key:
import UIKit
import GoogleMaps

@UIApplicationMain
class AppDelegate: UIResponder, UIApplicationDelegate {

    let googleApiKey = "YOUR_API_KEY"

    func application(_ application: UIApplication, didFinishLaunchingWithOptions launchOptions: [UIApplication.LaunchOptionsKey: Any]?) -> Bool {
        GMSServices.provideAPIKey(googleApiKey)
        return true
    }
}
The API key is provided to the Google Maps services within the AppDelegate, ensuring it is available when the app starts.
Step 3: Adding Features
Customizing the Map
You can customize the map by setting various parameters like zoom level, map type, and markers. For example, to add a marker in a web application:
var marker = new google.maps.Marker({
    position: {lat: -25.363, lng: 131.044},
    map: map,
    title: 'Hello World!'
});
Handling API Errors
Ensure your application can handle potential API errors gracefully to improve user experience and secure the application.
Conclusion
Integrating the Google Map API into your application is quite straightforward and can provide significant value to users.
With the steps outlined above, you should have a functional map integrated into your web or mobile application.
Remember to secure your Google Api Key and handle errors gracefully to ensure a reliable application experience.
FAQs
What is a Google Map API Key?
A Google Map Api Key is a unique identifier used to authenticate requests associated with your project for usage and billing purposes.
How do I get a Google Map API Key?
Visit the Google Cloud Console, then create a project, enable the Maps JavaScript API, and generate the API key.
Can I use Google Maps API for free?
Yes, Google offers a free tier for the Maps API with certain usage limits. Make sure to check the pricing details on the Google Cloud website.
Why should I handle API errors?
Because, Handling API errors ensures your application remains functional and provides a better user experience even when something goes wrong.
References
Feel free to use the reference links for more detailed information and guides:
Keep Learning…Keep Coding…👩💻🙌
Good work 🎉🎉
Thank you ma'am , struggling with the integration and guess what, pop up with this post and by simply following the steps it's done. Explained soo simply.
Informative and Helpful content 👏👏
I have seen many articles but I am seeing such an article for the first time, in this all my doubts got solved. Thank you so much Anjali.
Well arranged and informative content